In the RoverPass owner portal, the 'My RoverPass Website' tab is where you can update:
- Header Image
- Colors
- Logo
Continue below to find where to update different sections of your RoverPass website.
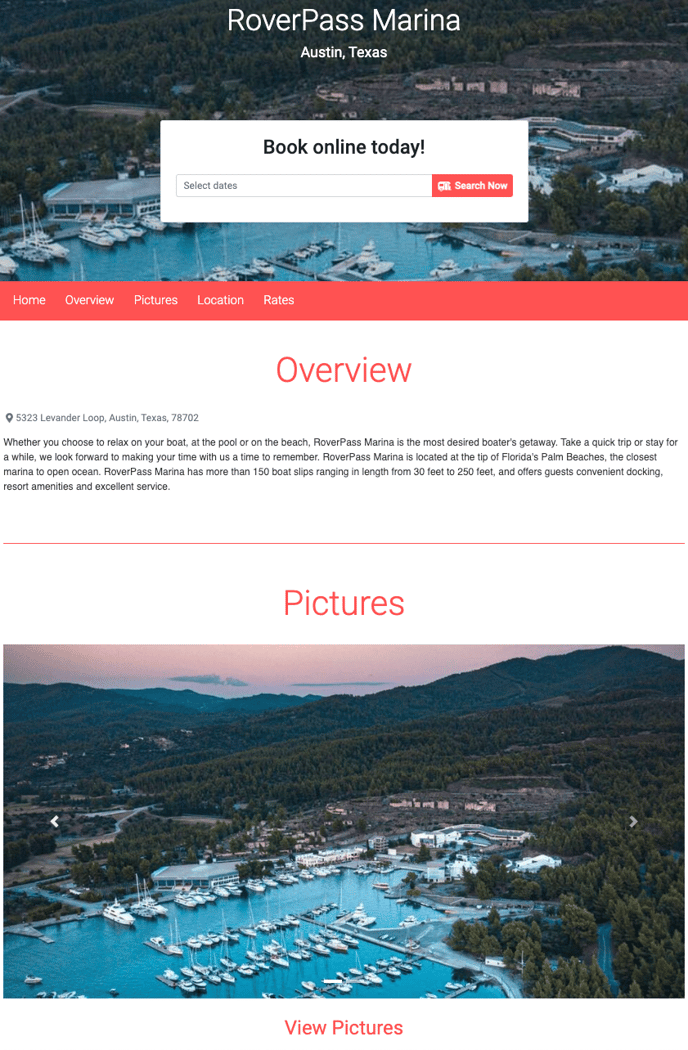
Overview
The Overview section shows the address of your campground and contains your
campground description. Share the details about what makes your campground
stand out to share with guests. This is where you want to grab the camper's attention!
Click here to learn how to update your Campground Description.

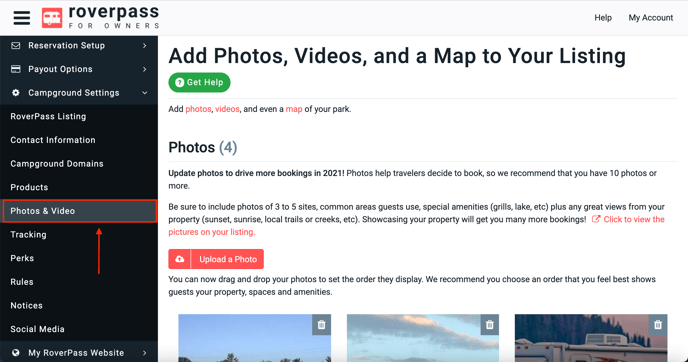
Pictures
Multiple photos boost your campground listing within RoverPass and make your website more appealing! We suggest uploading at least 10 photos.
Click here to learn how to upload photos in the RoverPass portal.
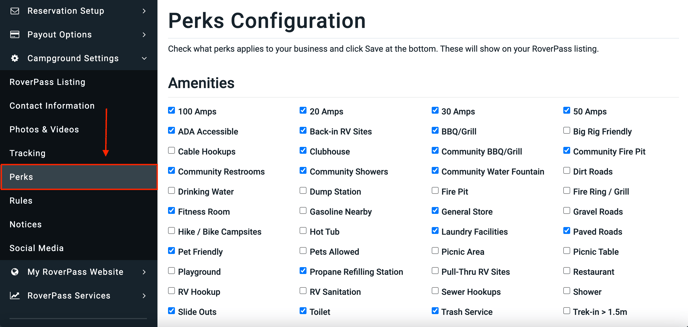
Amenities
The Amenities section is created by the Perks you have selected apply to your campground. Use this section to showcase any amenities that you provide!
Click here to learn how to select the amenities provided at your campground.
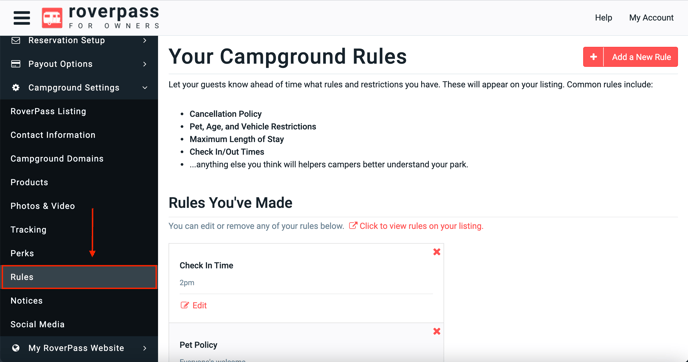
Rules
Your campground rules display at the bottom of your website. This section should include any important rules that campers would need to know when staying at your campground.
Rates
The Rates section of a RoverPass website will pull data directly from your pricing tiers in the Rate Editor tab.
Click here to learn how to update your rates in the Rate Editor tab.
Preview your Website
You can preview your website template by clicking on the 'My RoverPass Website' tab on the left side navigation bar and selecting 'Preview Website'