Do you need to edit your park's Site details or create a New Site? You can do so using the Sites tab in your RoverPass Owner Portal!
📽️ How to Video: Create a New Site in the 'Sites' tab 📽️
*Please note: If you are adding a New Site that will have a different Pricing Tier than any of your existing sites. Please refer to this article first, to create the new Pricing Tier, then follow the steps listed above on this article.*
How to Edit a Site in your Sites tab:
Step 1: Login through the RoverPass Owner Portal Sign In Page
Step 2: Select the 'Reservation Setup' tab on the left hand side
Step 3: Click on the 'Sites' tab
Step 4: Find the Site you want to Edit, click the red 'options' button
Step 5: Click 'Edit Details' and make changes to the fields as you wish (see examples below)
Step 6: Click the red 'Submit Changes' button
📽️ How to Video: Edit a Site in the 'Sites' tab 📽️
How to use the Sites tab to add New Sites:
Step 1: Login through the RoverPass Owner Portal Sign In Page
Step 2: Select the 'Reservation Setup' tab on the left hand side
Step 3: Click on the 'Sites' tab
Step 4: Click on the red 'Add New Site +'
Step 5: A new 'Create a New Site' screen will pop up, fill in the suggested fields (see description of pages below)
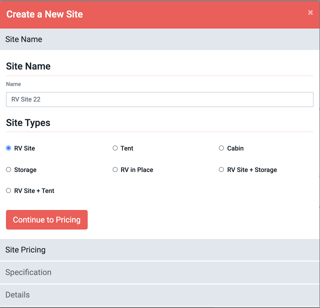
Site Name:
- Site Name = the specific name of the site that you will be placing campers in
- Site Type = what type of site (rv, tent, cabin, etc) *please note the site type you select must also be the same site type you select when adding the Pricing Tier*
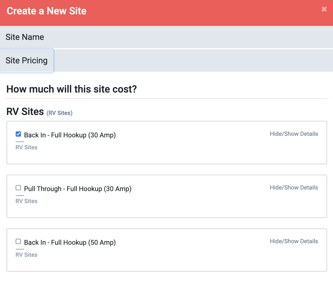
Site Pricing:
- How much will this site cost = pricing tier you want it to associate with and be listed under
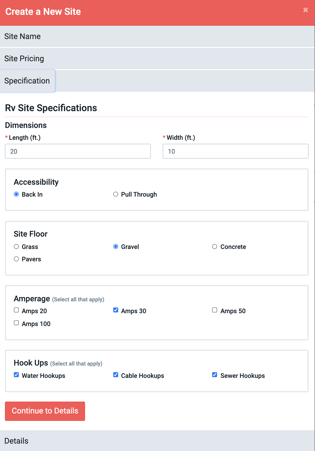
Specification:
- Dimensions = max dimensions of rv that the site can hold
- Accessibility = Back In or Pull Through
- Site Floor = type of flooring at site (gravel, pavement, grass, etc)
- Amperage = select all amp hookups that apply to the site
- Hook Ups = select all that apply (water, cable, sewer)
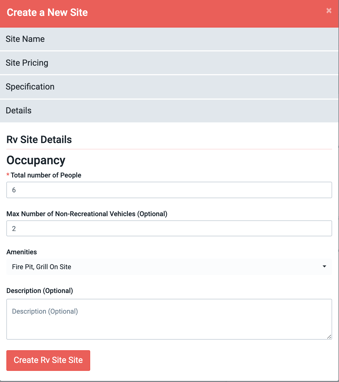
 Details:
- Occupancy = the total number of people you will allow at this site
- Max number of non-recreational vehicles = limit of vehicles per site
- Amenities = any amenities available to guests at this site
- Description = anything you want to tell your guests about the site
How to Archive a Site in your Sites tab:
No longer have a certain site, or don't want to see it on your calendar? No problem!
Step 1: Select the 'Reservation Setup' tab on the left hand side
Step 2: Click on the 'Sites' tab
Step 3: Find the Site you want to Archive, click the red 'options' button
Step 5: Click 'Archive'
Step 6: That site will no longer appear on your calendar but will still remain in the Sites Tab in case you wish to reinstate later!