1. Simple Setup Guide QuickBooks
2. Overview of Cases Covered by Our QuickBooks Integration
Streamlining Your QuickBooks Integration with RoverPass - Simple Setup Guide QuickBooks!
We understand the importance of a seamless integration with QuickBooks Online, and we're here to make it as easy as possible for you. Follow these five simple steps to connect RoverPass to QuickBooks Online:
1. Click the link: Intuit Developer then when prompted login with your QuickBooks Online account.
You will be prompted to join the Intuit Developer platform.
2. Click the checkbox to agree to their terms, then click ¨Create account¨.

3. Click on My Hub on the top right, and select App dashboard:

4. Once it loads, click the + button:

5. Then, click Get Started:

6. Under App name, type RoverPass, and click Next


8. Finally, click Confirm. this will create the app inside Quickbooks developer portal.


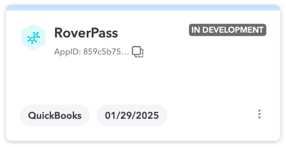
The App is now created and in the Development stage. To move it to production, follow these steps:
-
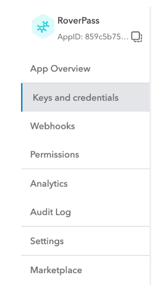
On the left sidebar, click on Keys & Credentials

Production Key Requirements
Before you can get your API keys, it will request you to do six steps, these are called the Production Key Requirements:

-
Complete App Details
-
Click on Review your Intuit Developer Portal Profile and verify your email

3. Next step: Add your app’s end-user license agreement and privacy policy
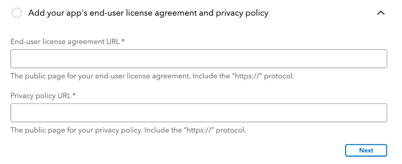
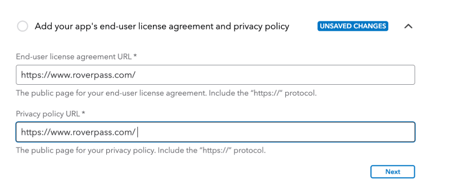
4. Add https://www.roverpass.com/ on both sections and click Next:
5. Next step: Add your app’s host domain, launch URL and disconnect URL
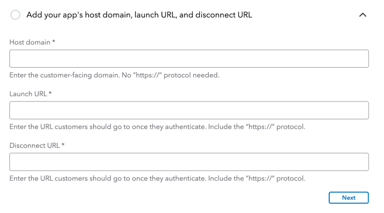
6. On Host Domain, Type www.roverpass.com
On Launch URL and Disconnect URL, copy and paste https://www.roverpass.com/
This is how it’d look like:

Click Next
7. Next step: Select at least one cattegory for your app
Select Accounting and click Next

8. Next step: Tell us about any regulated industries that use your app
Select None of the above, and click Next:

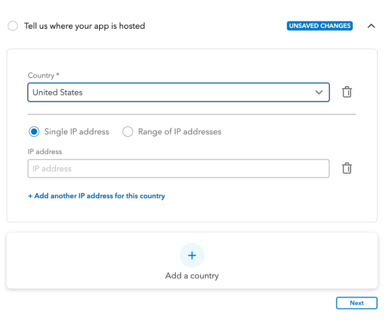
9. Next step: Tell us where your app is hosted
Just select United States. No need to add an ip Address:
-
Complete Compliance
If all the previous steps were completed correctly, App Details should be at 100%:

-
Click Compliance and then, click Start questionnaire
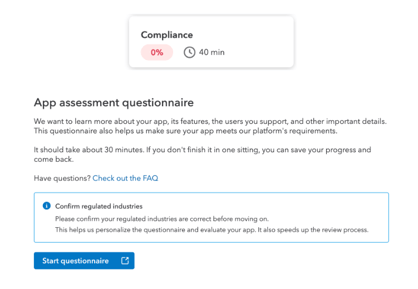
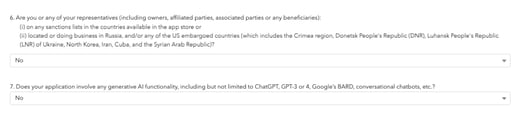
2. A new tab will open. Complete the app assessment questionnaire, providing necessary details about your app. Don’t worry, the questionnaire will take 10 mins at most.
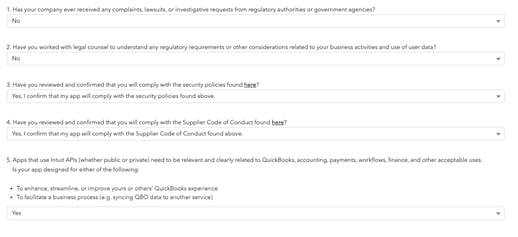
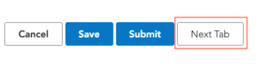
3. At the bottom, click on Next Tab
4. On Which of the following is true about your app (at least one option must be checked) select the option You were asked to create this app in order to get credentials/keys to be used on another platform that integrates with QuickBooks. Paste the following URL on Provide a link to the instructions that told you to create a new app:
https://roverpass.atlassian.net/wiki/spaces/EN/pages/1035927553/Quickbooks+-+RoverPass+API+Integration
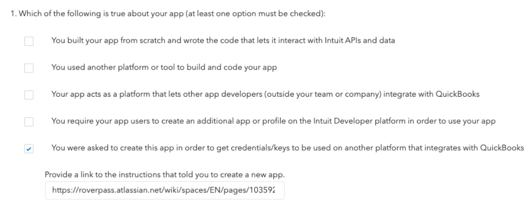
5. On the next question Have you added some form of Re-CAPTCHA to your site or app to prevent fraudulent transactions?, Select No, my App does not process payments:

6. Finally, at the bottom, click on submit:

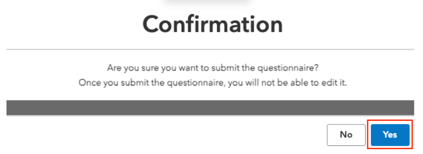
7. You will be prompted to confirm the questinnarie submission. Click Yes
And that’s it for the questionnaire. A pop-up on top will confirm this:
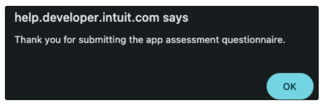
You can now close the questionnaire tab.
-
Locate keys & send to RoverPass
Now you have confirmed all your information & will be able to send the details to RoverPass .
-
Go back to the App Dashboard and refresh the page. You can also click here and select the RoverPass app created before:
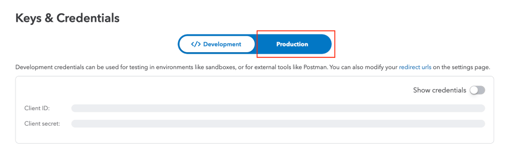
2. On the Left bar, click on Keys & Credentials and select Production:
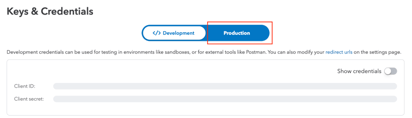
3. If everything went well, this is how it should look like:
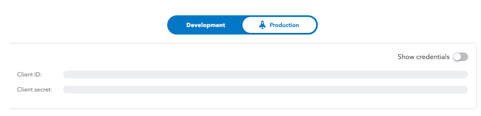
4. Click on Show credentials. Both Client ID and Client secret should be revealed:

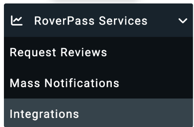
5. Back on RoverPass, On the left bar, Scroll down to RoverPass Services and click Integrations:
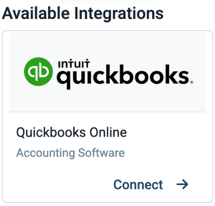
6. Locate Quickbooks Online and click Connect:
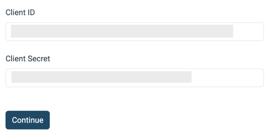
7. A new subpage will open. Copy both Client ID and Client Secret from Quickbooks and paste it in the corresponding spot:
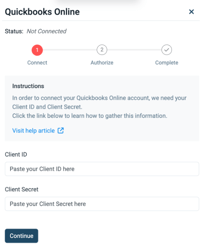
8. Click Continue
9. The final step is the App Authorization. To do so, click Get Codes

10. A new tab will open and you will be prompted to log into Quickbooks Developer portal.
11. Next, on Search for a company, select your Campground’s quickbooks account and click Next:

12. Then you will be prompted to connect the App to RoverPass, click Connect:

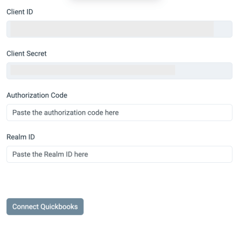
13. A new page will apear with the Authorization Code and Realm ID. Copy both Values:

14. Back in RoverPass, Paste both the Authorization code and Realm ID into the corresponding boxes:
15. Click Connect Quickbooks. If everything is correct, a success message will appear:

A RoverPass team member will contact you soon to refine and customize the integration, such as custom account names.