It is important to input your campground/park's cancellation policy to set correct expectations for campers thinking of reserving a site at your location. This way there are no surprises in case the traveler's plans change, or something comes up where they cannot make the trip.
The first place to find this will be in your RoverPass owner portal.
- Click on Reservation Setup in the control panel on the left hand side.
- Click on Policies.
- You will see your Check-In Procedure and below, your Cancellation Policy.
- Please fill that out, and make sure to click the Save Policies blue rectangle at the bottom of the screen.
See screenshot below:

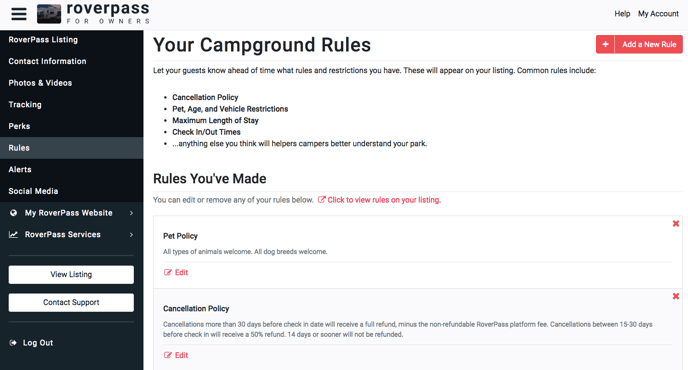
The other spot you will want to add them is also found in the control panel.
- Click on Campground Settings, then Rules.
- Click on the red rectangle in the upper right hand corner where it says Add a New Rule.
- Under Title, enter Cancellation Policy. Type out the policy under the heading Rule.
- Make sure to click the red Save Rule rectangle once you are done.
See screenshot below:
Now your cancellation policy will be shown to your camper in two different spots.