Send Custom Emails to Campers via Zapier
You can:
Send a confirmation or welcome email right after booking
Send check-in instructions.
Send post-check-out follow-ups, thank-you notes, or review requests
Here's a step-by-step guide to integrating your Zapier account with RoverPass.
Step 0 - Integration Request
Since the integration is in beta, it’s managed individually. Please complete this form to request your Zapier Integration with your contact information.
Once your request is accepted, you will receive an API Key*, which you will use to authorize your account in Zapier.
*The API Key is an alphanumeric value that allows proper and secure authorization to your RoverPass account. Please don’t share it or forward the email to anyone.
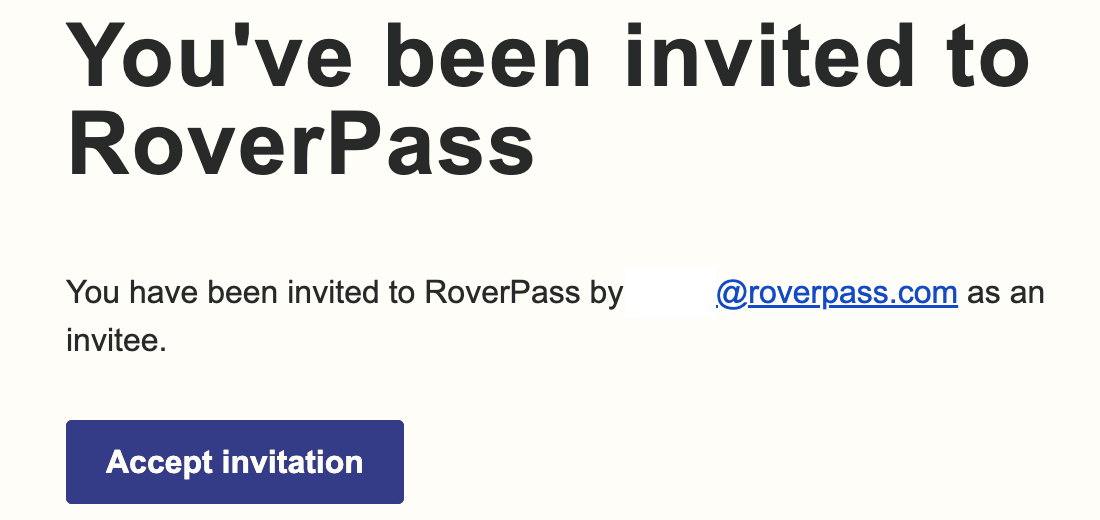
You will also receive an invitation to the Zapier Integration in your email. Please click on Accept Invitation.
Step 1 - Use Zaps Templates
Step 2 - Connect your Zap key (once)
Once you select an Event (New Reservation as an example) click on Continue: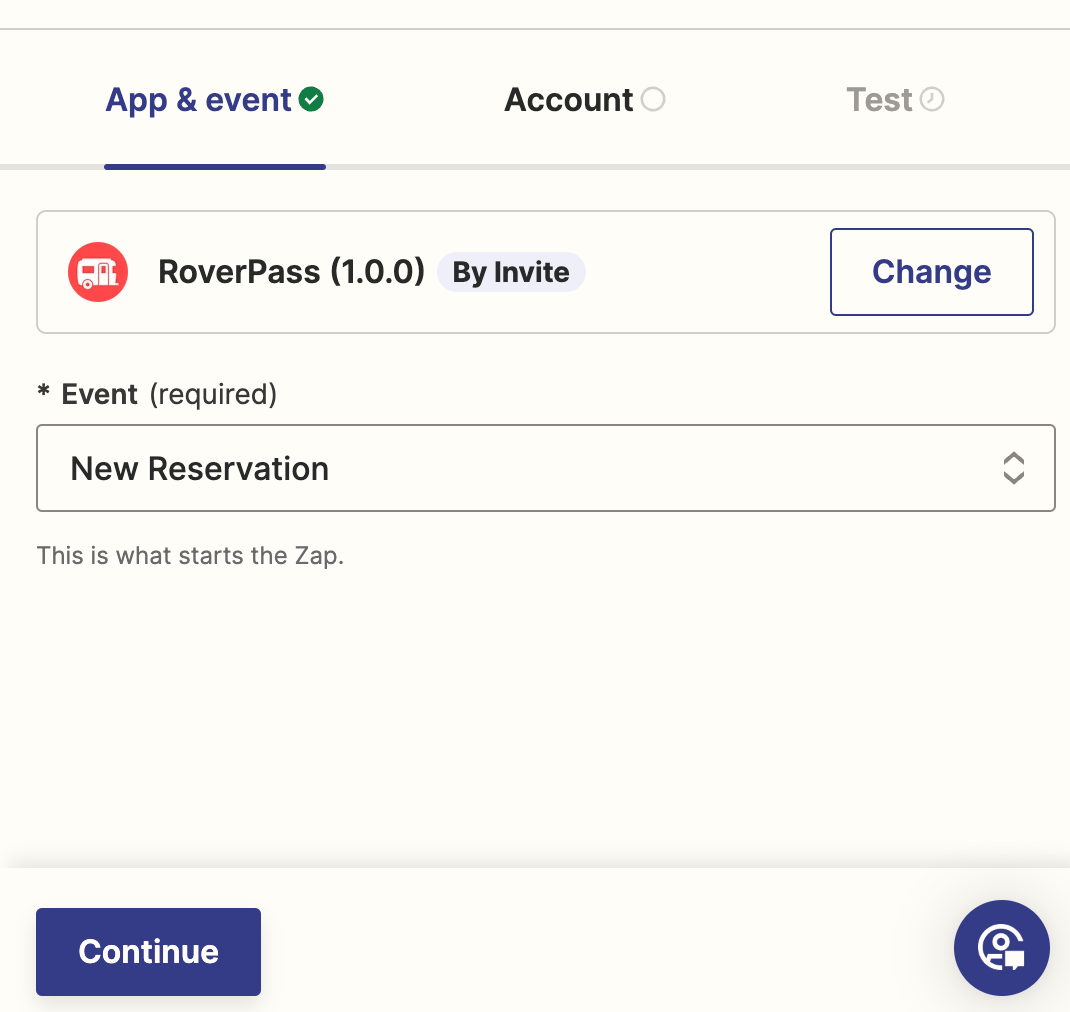
On Choose An Account, click on Choose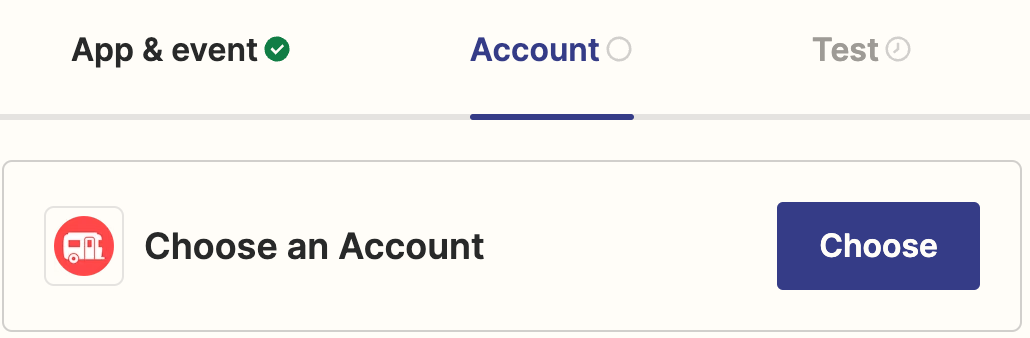
Click on Connect a new account
A pop-up will emerge, copy the API Key you received in your email and paste it here.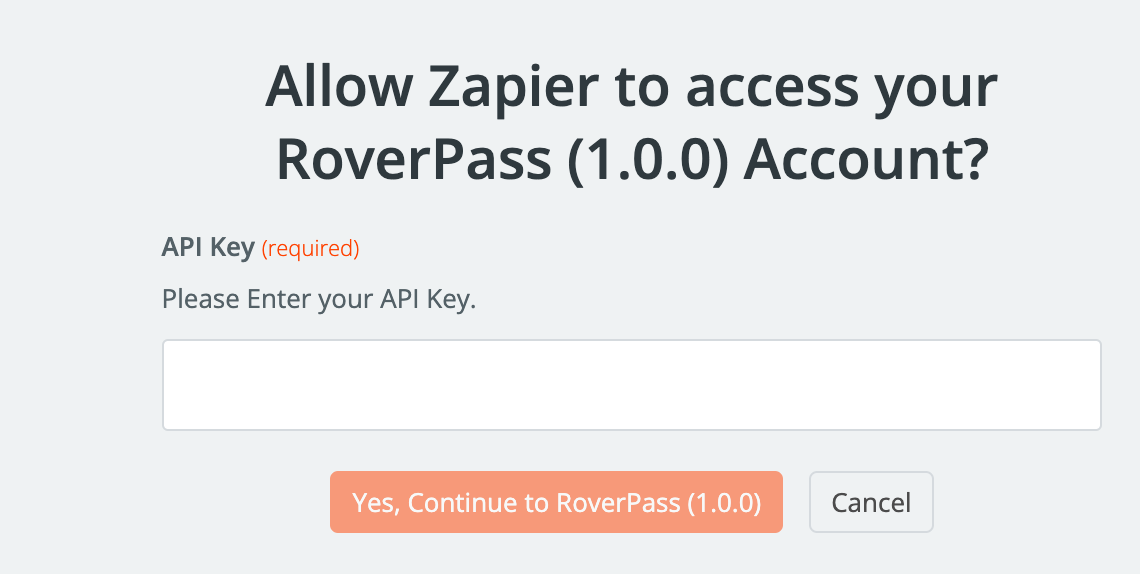
Click on Yes, and Continue to RoverPass. Then, click on Continue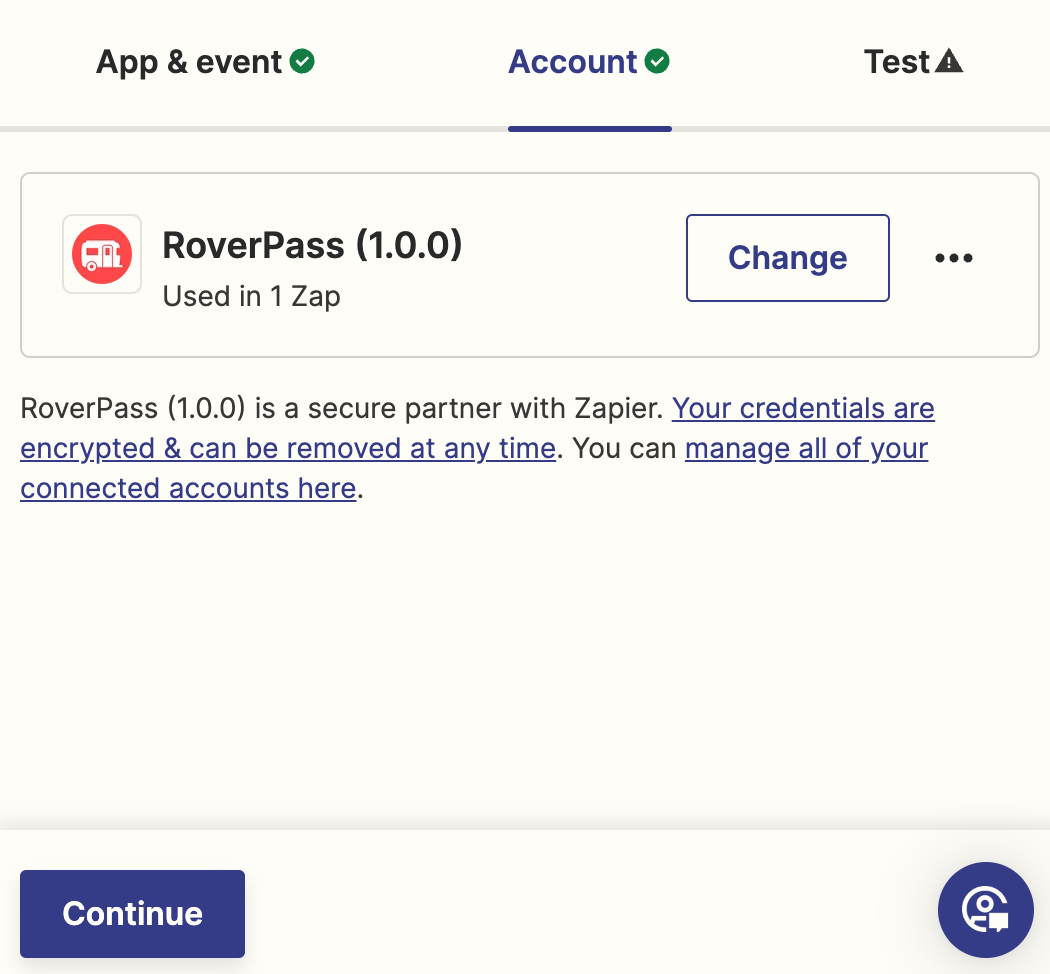
Click on Test Trigger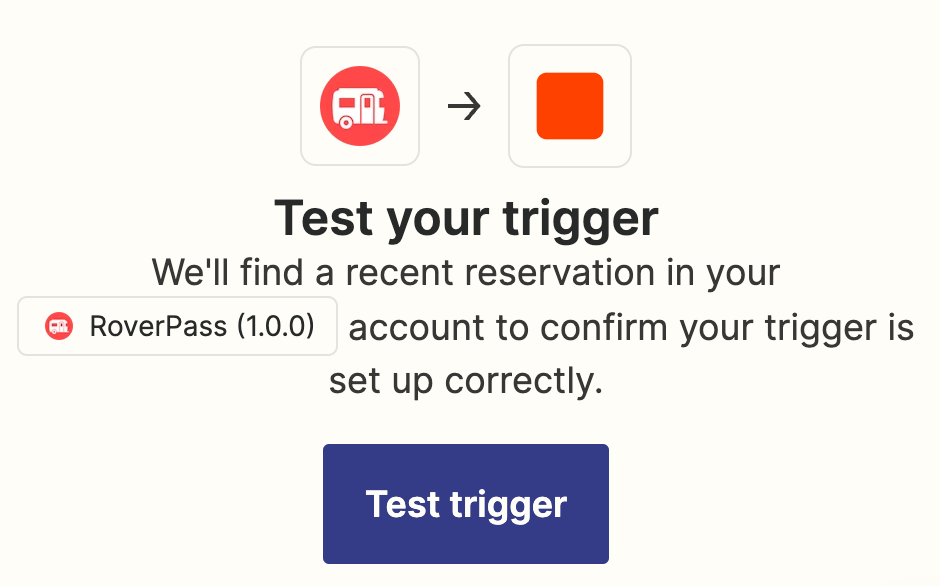
Once it is finished, Select a record and click on Continue with the selected record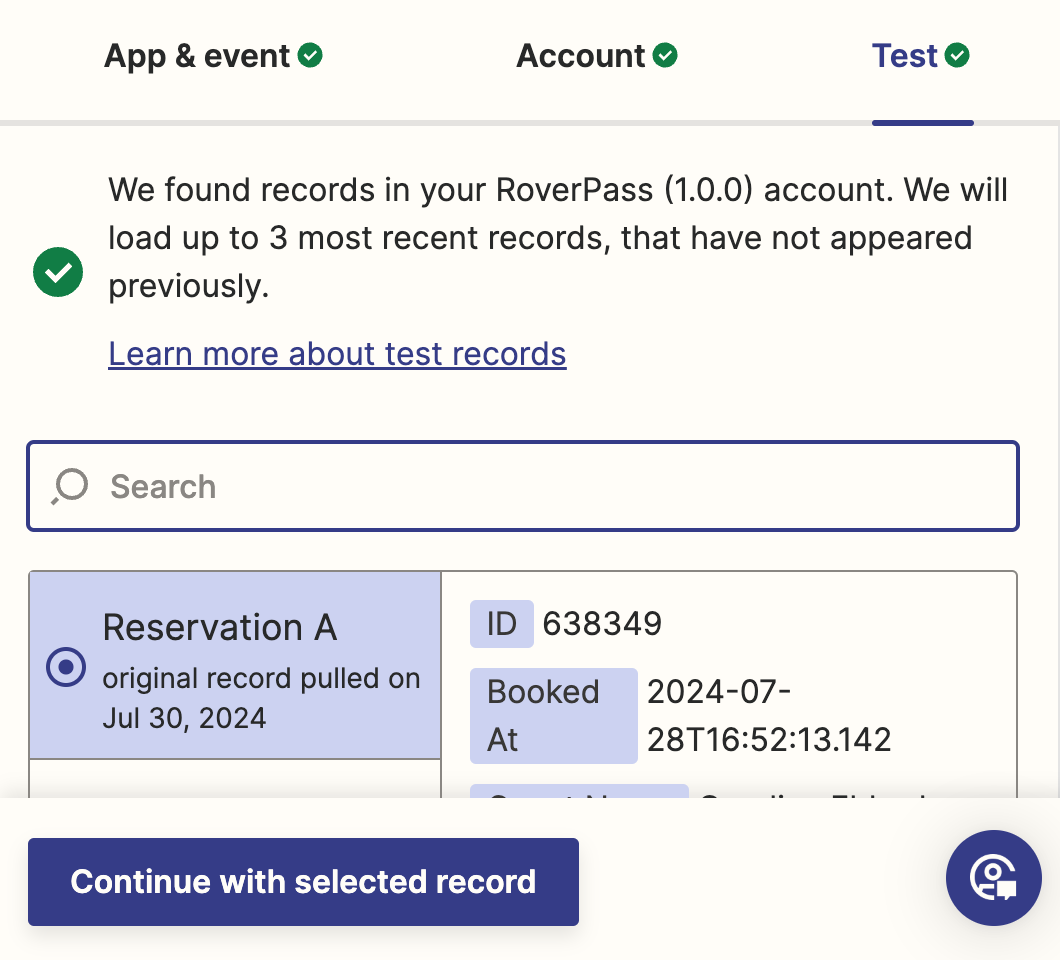
Step 3 - Test and Go Live!
The setup is now complete. If you have any further questions, please contact us at [email protected], and we will assist you.
 Use Cases for RoverPass and Zapier Integration
Marketing: How to Send Mass Emails to Your Guests by Connecting RoverPass with Mailchimp through Zapier
Integrating RoverPass with other tools like Mailchimp through Zapier can significantly streamline your communication with guests. This case study will guide you through the process of setting up an integration that allows you to send mass emails, such as a welcome email, to new reservations automatically.
Step 1: Set Up Your Zapier Account and Connect RoverPass
Create a Zapier Account:
If you don't already have a Zapier account, sign up at zapier.com.
Once signed in, click on ""Make a Zap"" to start the integration process.
Connect Your RoverPass Account:
In the ""Trigger"" section, search for ""RoverPass"" and select it as the trigger app.
Choose the trigger event that will start your workflow (e.g., ""New Reservation Update"").
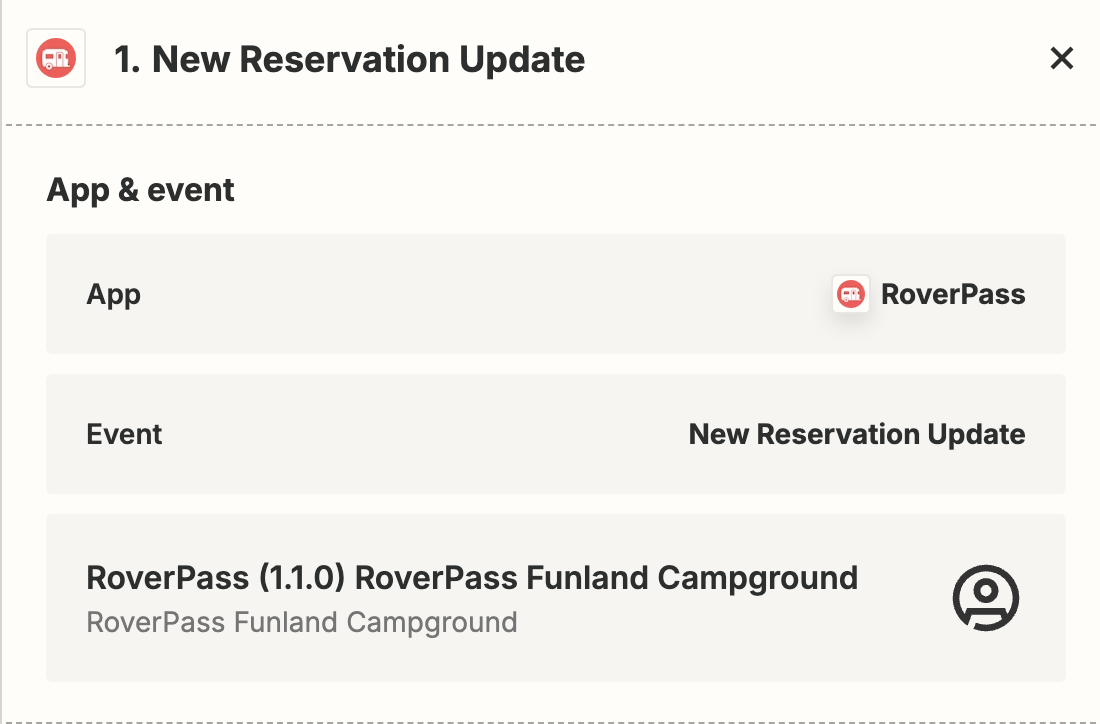
Connect your RoverPass account by following the prompts to log in and authorize Zapier to access your data.
Step 2: Create a Mailchimp Account and Set Up Fields
Sign Up for Mailchimp and Set Up Required Fields:
Go to mailchimp.com and create an account if you don’t have one.
Navigate to the ""Audience"" section, where you’ll manage your contacts.
Click on Manage Audience - Settings
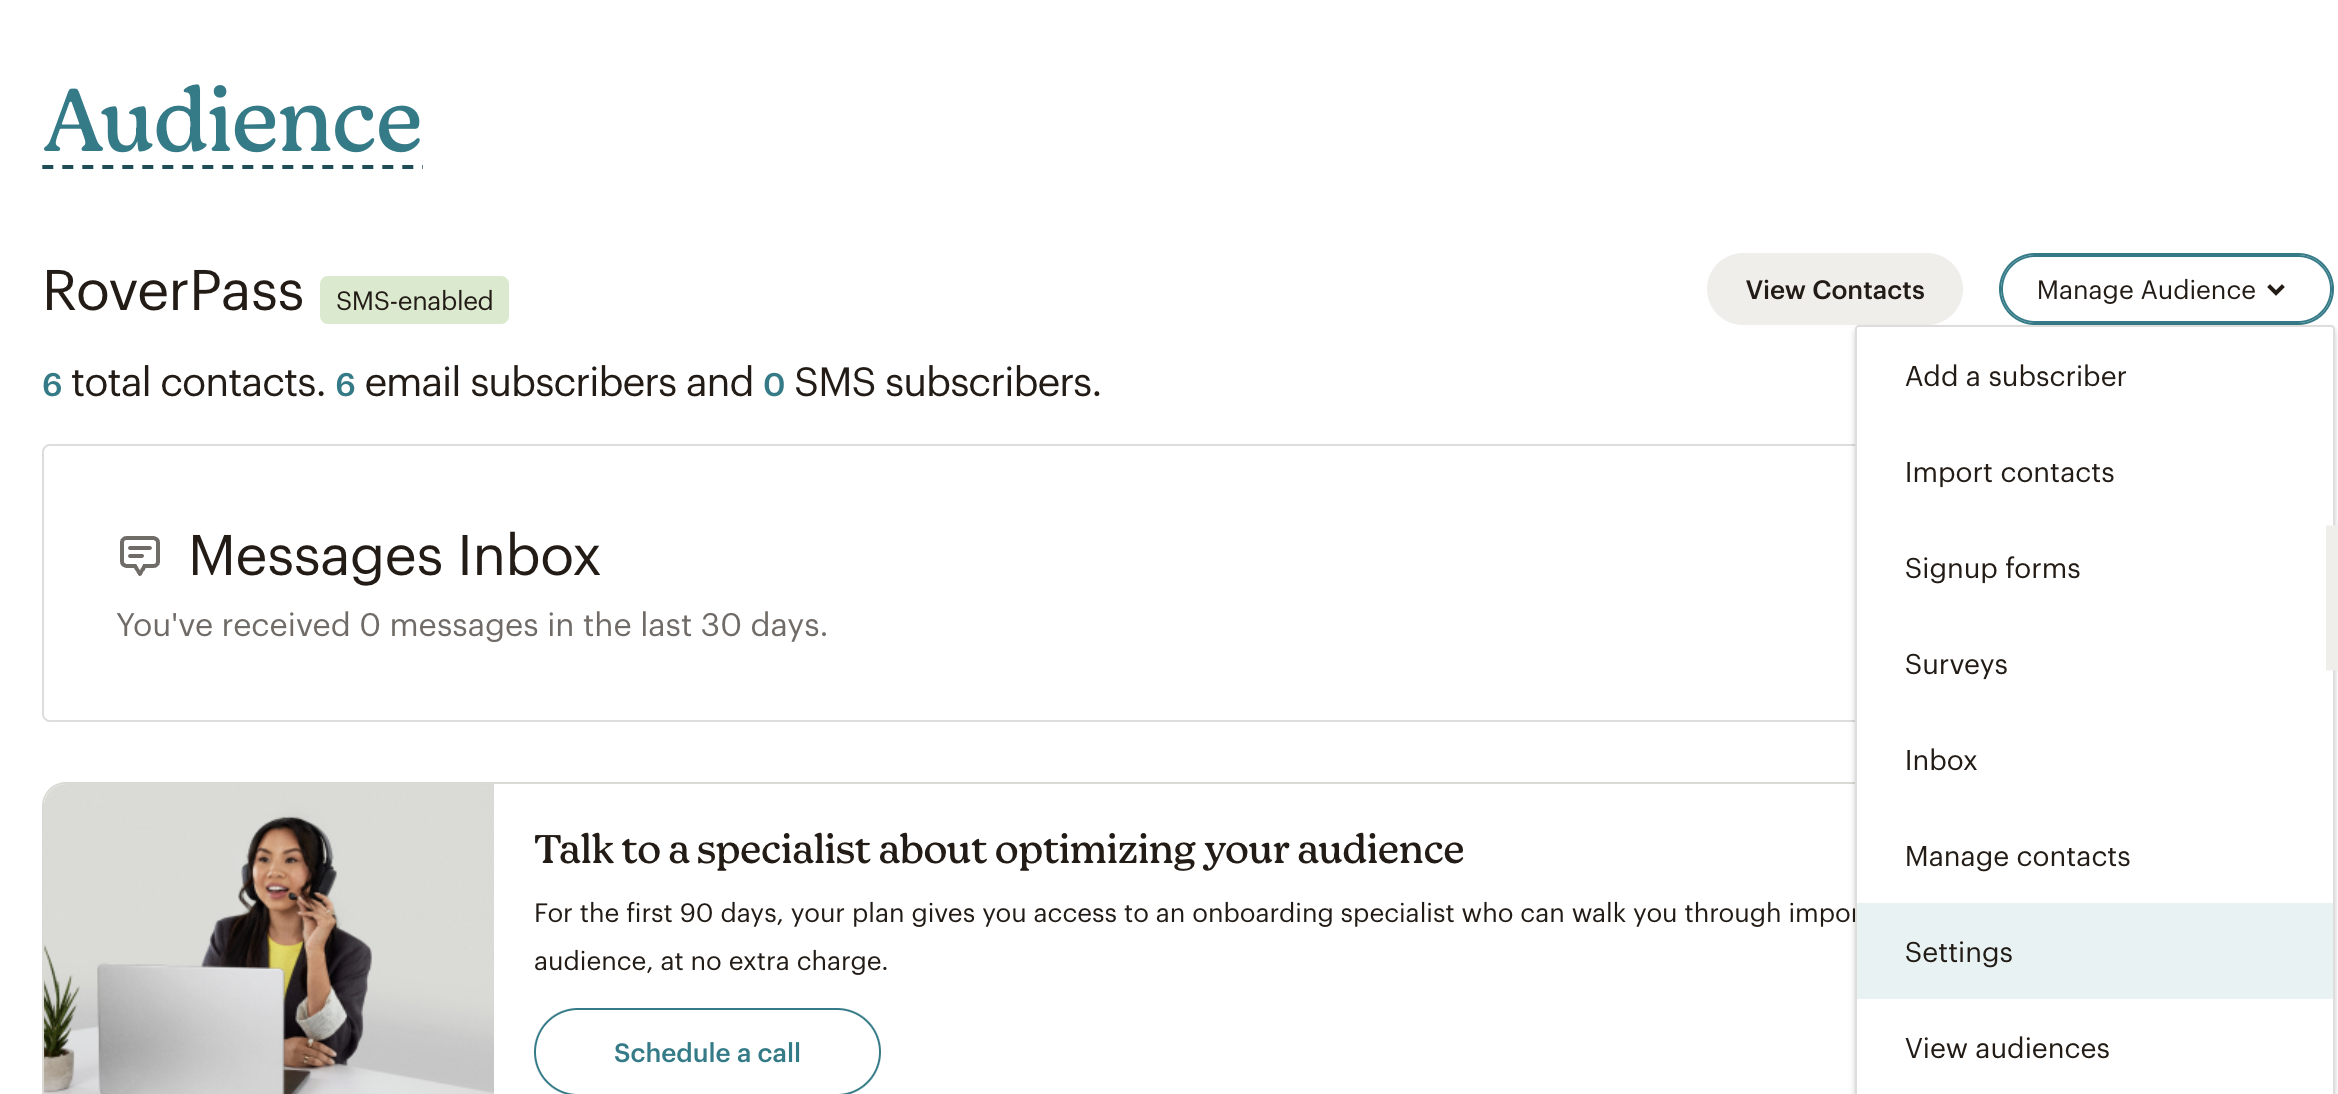
Under settings search for the option “Audience fields and *|MERGE|* tags” and there you will be able to creat new fields that match the ones that you will use from RoverPass, like Check-in or Check-out dates.
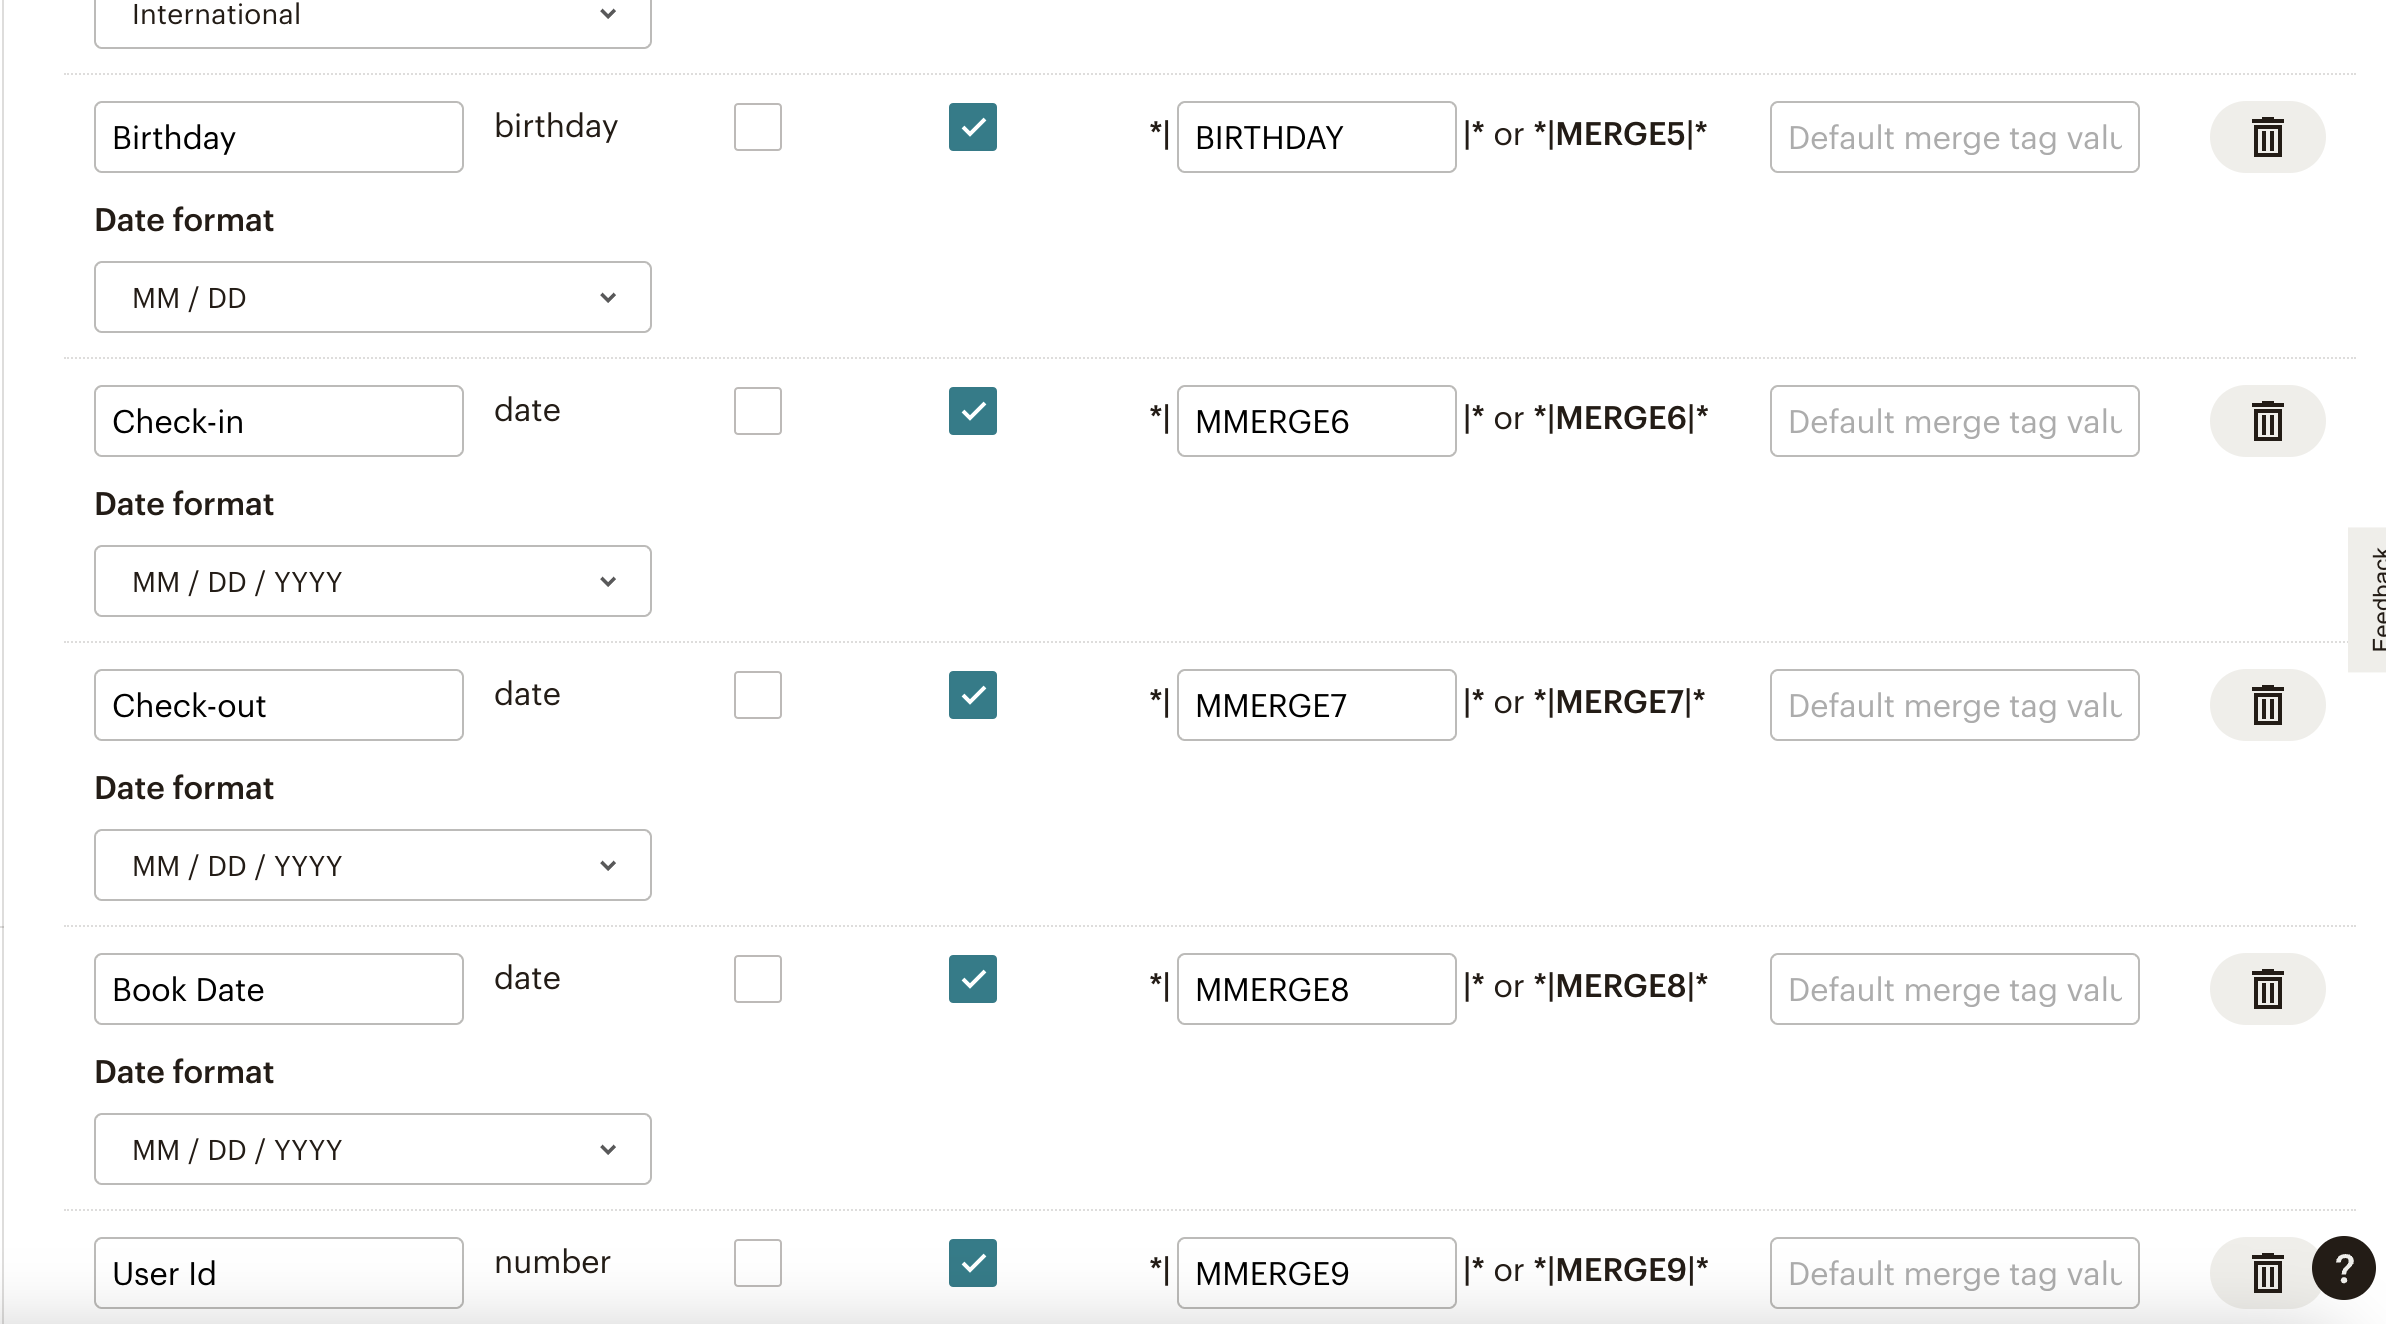
Step 3: Create the Email Campaign in Mailchimp
Design Your Email:
Under the ""Campaigns"" tab in Mailchimp, click on ""Create Campaign"" and select ""Email.""
Design your email template, such as a welcome email for new reservations. Customize it with the fields you set up earlier (e.g., [First Name], [Last Name]).
Save Your Campaign:
After designing, save the email campaign. This campaign will be used later when you trigger the email via Zapier.
Build Journeys or automation:
You can even create automation that will be triggered as soon as the contact travels from Zapier to MailChimp
To learn how to create automation or customer journeys on Mailchimp click here:
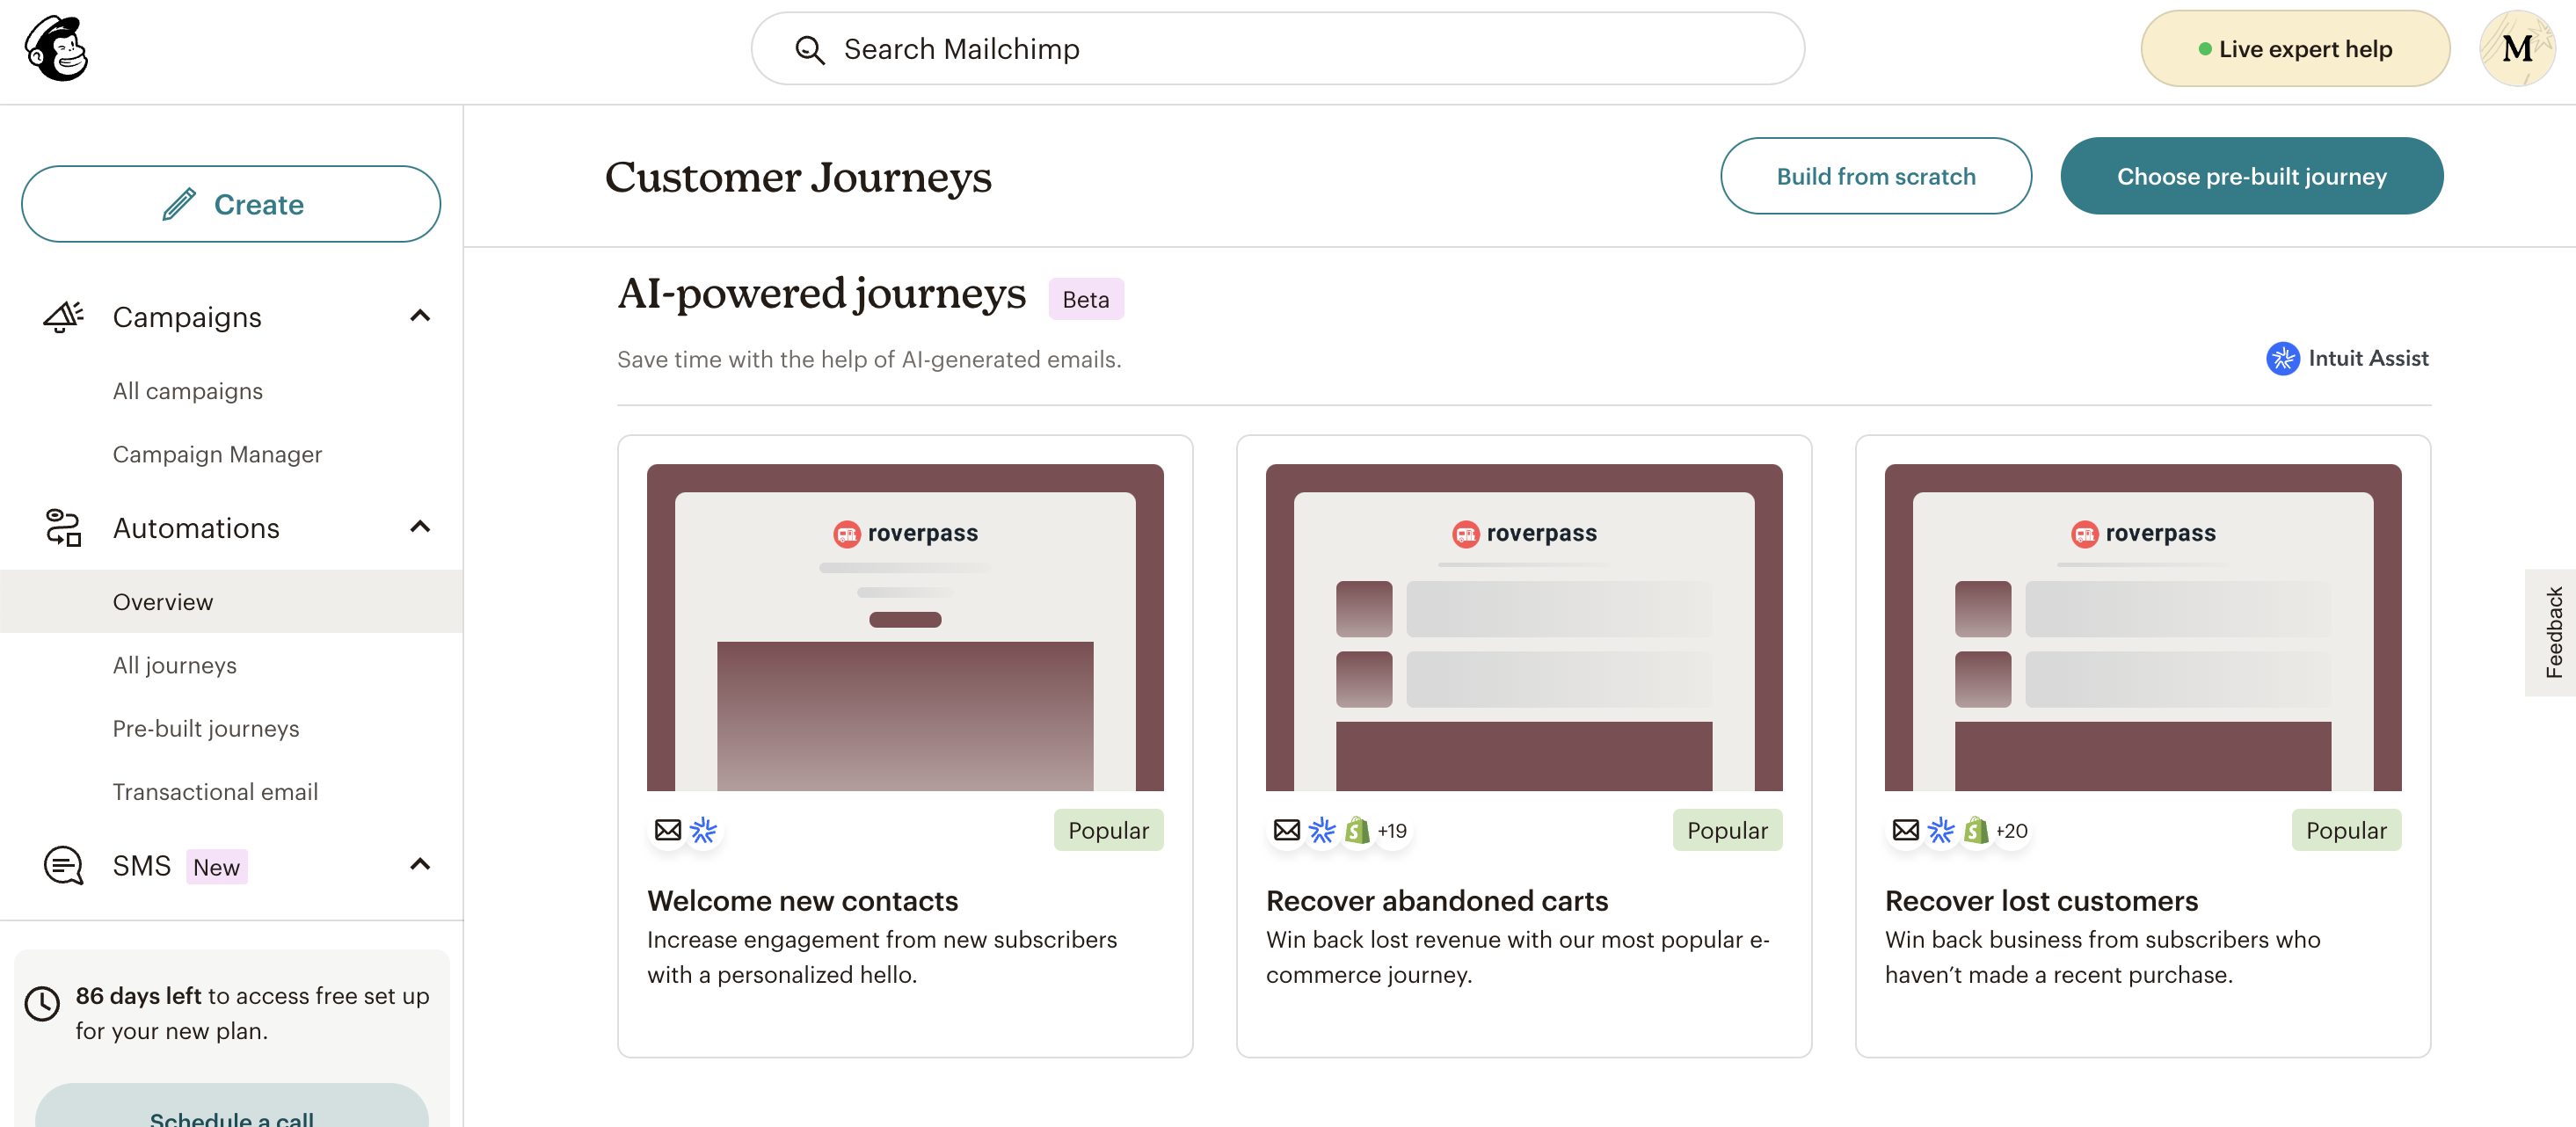
Step 4: Connect Mailchimp to Zapier
Set Up the Action in Zapier:
Return to Zapier, where you previously set up the trigger with RoverPass.
For the ""Action"" app, search for ""Mailchimp"" and select it.
Configure the Action:
Choose ""Add/Update Subscriber"" as the action event.
Connect your Mailchimp account to Zapier, authorizing access as prompted.
Map the Fields:
In the mapping section, connect the fields from RoverPass (e.g., guest’s first name, last name, email, check-in, check-out) to the corresponding fields in Mailchimp.
This ensures that the information from RoverPass is correctly transferred to Mailchimp.
Step 5: Example of Sending a Welcome Email
Create the Customer Journey on Mailchimp:
With the trigger (new reservation update in RoverPass) and the action (add/update subscriber in Mailchimp) set up, Mailchimp will automatically send your welcome email to any new reservation made in RoverPass.
Test the Zap:
Before turning the Zap on, test it to ensure everything works as expected. Create a sample reservation in RoverPass and see if it triggers the welcome email through Mailchimp.
Turn on Your Zap:
Once tested and confirmed, turn on your Zap. Now, every time a new reservation update is made in RoverPass, the guest will receive a personalized welcome email automatically.