Optimizing Your RoverPass Listing
A) Site Lock
By utilizing 'Site Lock', you can increase your bookings and revenue by allowing campers to pick their own site for a flat site lock fee. Campers love site security! Click here to view how to set up site lock and more details.
B) Interactive Map
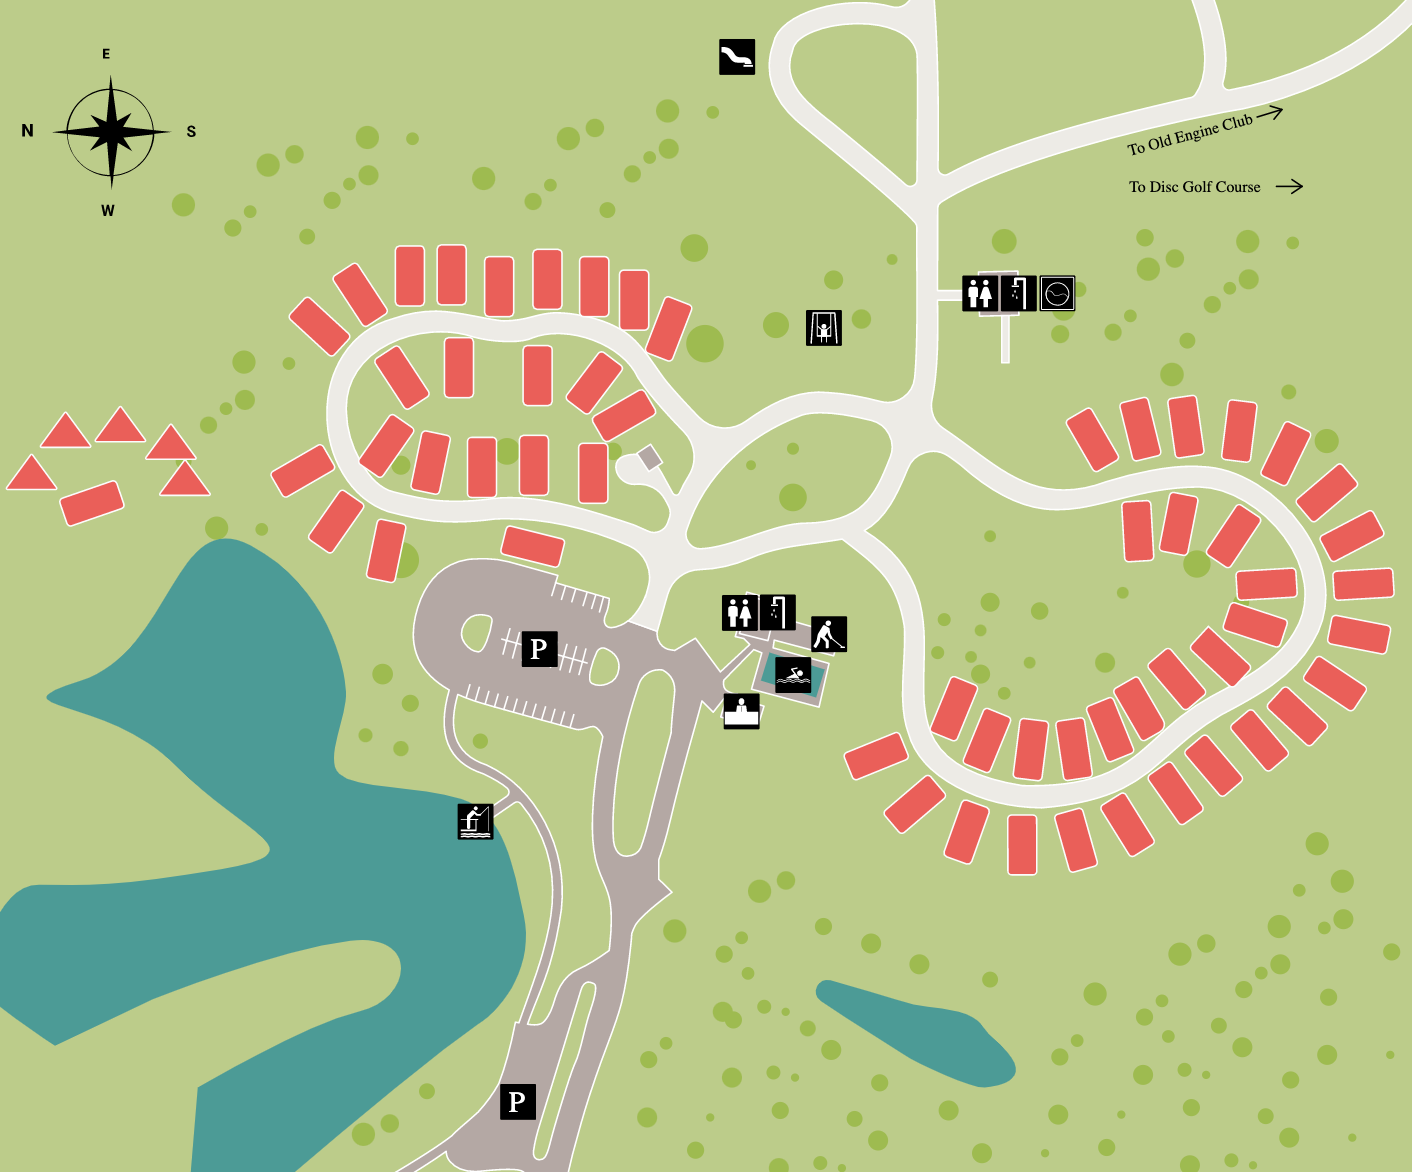
1. Login to your RoverPass Owner Portal, where you will be directed to your Dashboard
2. On the left hand side, click 'General Settings' to open the dropdown menu and click 'RoverPass Listing'
3. Scroll to the section titled 'A Few More Details...', where you will find the 'Description' box
Example:
4. Type in everything that makes your campground or RV Park special and what they would enjoy if they chose you for their next stay! This will be shown directly to travelers that find your campground on RoverPass, as well as if you utilize our free RoverPass website templates
5. Click the blue 'Save Listing Information' button once completed to update your listing
D) Adding Photos
1. Login to your RoverPass Owner Portal, where you will be directed to your Dashboard
2. On the left hand side, click 'General Settings' to open the dropdown menu and click 'Photos & Video'
3. Click the red 'Upload a Photo' and select the photos you would like to upload to your listing. Below 'Photos', there are sections to upload 'Videos' and your 'Map'.
Photos help travelers decide to book, so we recommend that you have 10 photos or more. Be sure to include photos of 3 to 5 sites, common areas guests use, special amenities (grills, lake, etc) plus any great views from your property (sunset, sunrise, local trails or creeks, etc). Showcasing your property will get you many more bookings!
E) Adding Amenities
1. Login to your RoverPass Owner Portal, where you will be directed to your Dashboard
2. On the left hand side, click 'Campground Settings' to open the dropdown menu and click 'Perks'
3. On the 'Perks' page, check all Amenities, Activities, Discount Clubs, etc. that apply to your campground or RV Park
4. Click the blue 'Save Facility Configuration' button to update your listing