At RoverPass, we offer different solutions for your park. Whether you are using a request based system or our central reservation system, there are tools that you can use to garner more attention to your campground and drive bookings!
"How do I know if I am on the Central Reservation System or Request Based System?"
Our Central Reservation System owners will have accessibility to our Calendar feature and automatic bookings. If you are currently on a Request Based System and would like to learn more about our Central Reservation System, click here to get in contact with us today!
Central Reservation System Exclusive Tools
Site Lock
By utilizing 'Site Lock', you can increase your bookings and revenue by allowing campers to pick their own site for a flat site lock fee. Campers love site security! Click here to view how to set up site lock and more details.

Interactive Map
If you choose to utilize 'Site Lock', you can implement an Interactive Map thatwe provide completely free! Campers are able to view exactly where the site they would like to book is at your campground. Click here to view more about interactive maps and how to inquire about your map today.
Request Based System Tools
I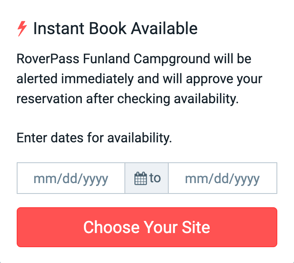 nstant Book
Instant Book is the ability for your campers to book sites instantly instead of having to wait for a reservation approval. This tool is great to encourage campers to book your campground, if you know that you definitely will have a site available for them! (Ex: Off Season, Large Campground/Rarely Full Capacity). Click here to learn how to enable Instant Book.
There are many simple ways to grab more attention to your listing on RoverPass. Below you can find how to update your campground description, add photos & video, and display your amenities.
Campground Description
1. Login to your RoverPass Owner Portal, where you will be directed to your Dashboard
2. On the left hand side, click 'Campground Settings' to open the dropdown menu and click 'RoverPass Listing'
3. Scroll to the section titled 'A Few More Details...', where you will find the 'Description' box
Example:
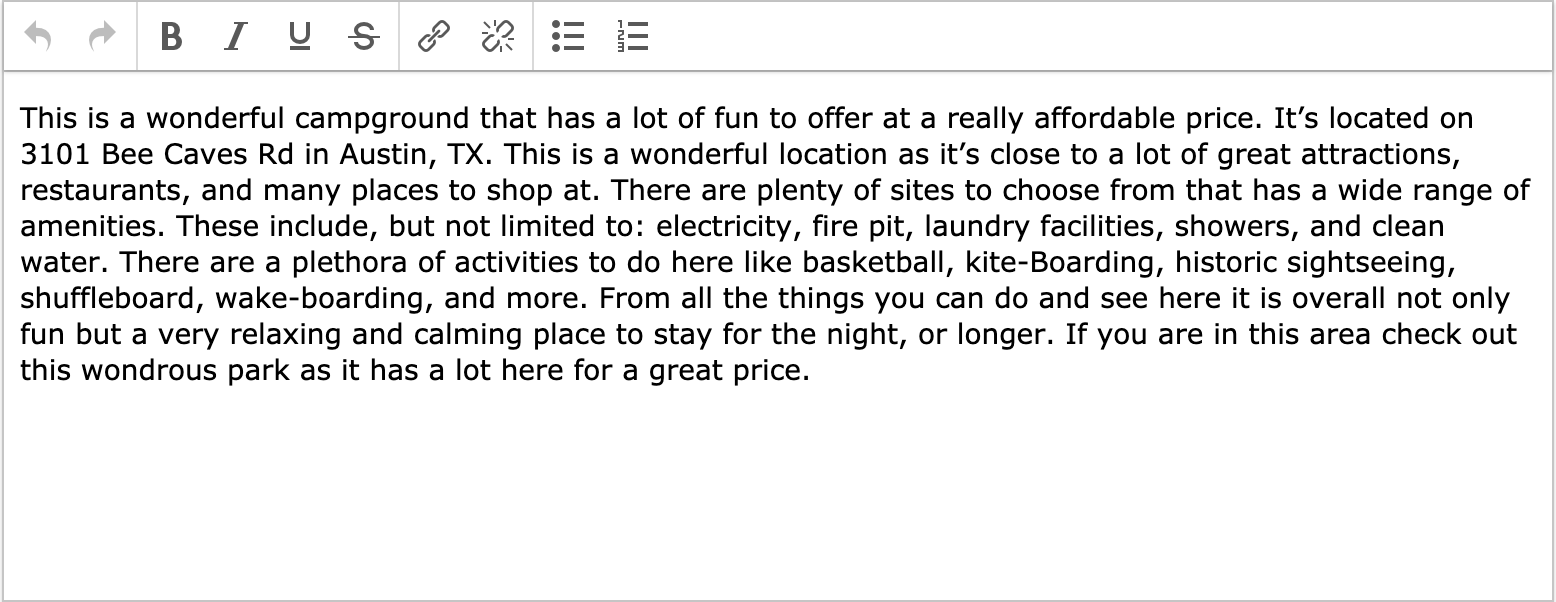
4. Type in everything that makes your campground or RV Park special and what they would enjoy if they chose you for their next stay! This will be shown directly to travelers that find your campground on RoverPass, as well as if you utilize our free RoverPass website templates
5. Click the blue 'Save Listing Information' button once completed to update your listing
Adding Photos
1. Login to your RoverPass Owner Portal, where you will be directed to your Dashboard
2. On the left hand side, click 'Campground Settings' to open the dropdown menu and click 'Photos & Video'
3. Click the red 'Upload a Photo' and select the photos you would like to upload to your listing. Below 'Photos', there are sections to upload 'Videos' and your 'Map'.
Photos help travelers decide to book, so we recommend that you have 10 photos or more. Be sure to include photos of 3 to 5 sites, common areas guests use, special amenities (grills, lake, etc) plus any great views from your property (sunset, sunrise, local trails or creeks, etc). Showcasing your property will get you many more bookings!
Adding Amenities
1. Login to your RoverPass Owner Portal, where you will be directed to your Dashboard
2. On the left hand side, click 'Campground Settings' to open the dropdown menu and click 'Perks'
3. On the 'Perks' page, check all Amenities, Activities, Discount Clubs, etc. that apply to your campground or RV Park
4. Click the blue 'Save Facility Configuration' button to update your listing